Hitec Lynx 3D User Manual
Browse online or download User Manual for Toys Hitec Lynx 3D. HITEC Lynx 3D User Manual
- Page / 16
- Table of contents
- BOOKMARKS
- Table of Contents 2
- Physical Features 2
- Electronic Features 3
- Fast Charging TX Battery: 5
- Dry Cell Version: 5
- Left Handed Operation: 5
- Edit Menu Access: 7
- Model Reset: 8
- Model Copy: 8
- Model Select: 8
- Racer Tip 8
- XX 2 SL X00:0 9
- PUSH TOGETHER 10
- $XX X XX X $XX X X 13
- D.S.C. (Direct Servo Control) 15
- Driving Tips: 15
- Final Thoughts: 15
- A new dimension of control 16
Summary of Contents
+-AUX+-AUX+-AUX+-AUXEDITEDITAUX-+DATAABS: (Anti-Lock Braking System)This feature is advantageous in applications where hard, late braking is required.
+-AUX+-AUX+-AUX+-AUX+-AUXEDITEDITAUX-+DATADATADATADATADATADATADATADATAAuxiliary Channel 3:This is the third channel of your three channel radio and ca
+-AUX+-AUX+-AUXEDITEDITAUX-+DATADATADATAEDITEDIT+-AUX+-AUXAUX-+Expotential:This feature is used to change the control travel from linear to nonlinear.
+-AUXEDITEDITAuto Dual Rate:This feature allows you to select individual high and low speed steering travel. First you must set thethrottle position
This concludes the programming portion of the set up. Below are a few more tips on the Lynx 3Dfeatures that can improve you driving skills.Brake Dept
D.S.C. (Direct Servo Control)This feature allows the operation of the receiver without transmitting a signal. Connect the DSC cordto the transmitter
A new dimension of control
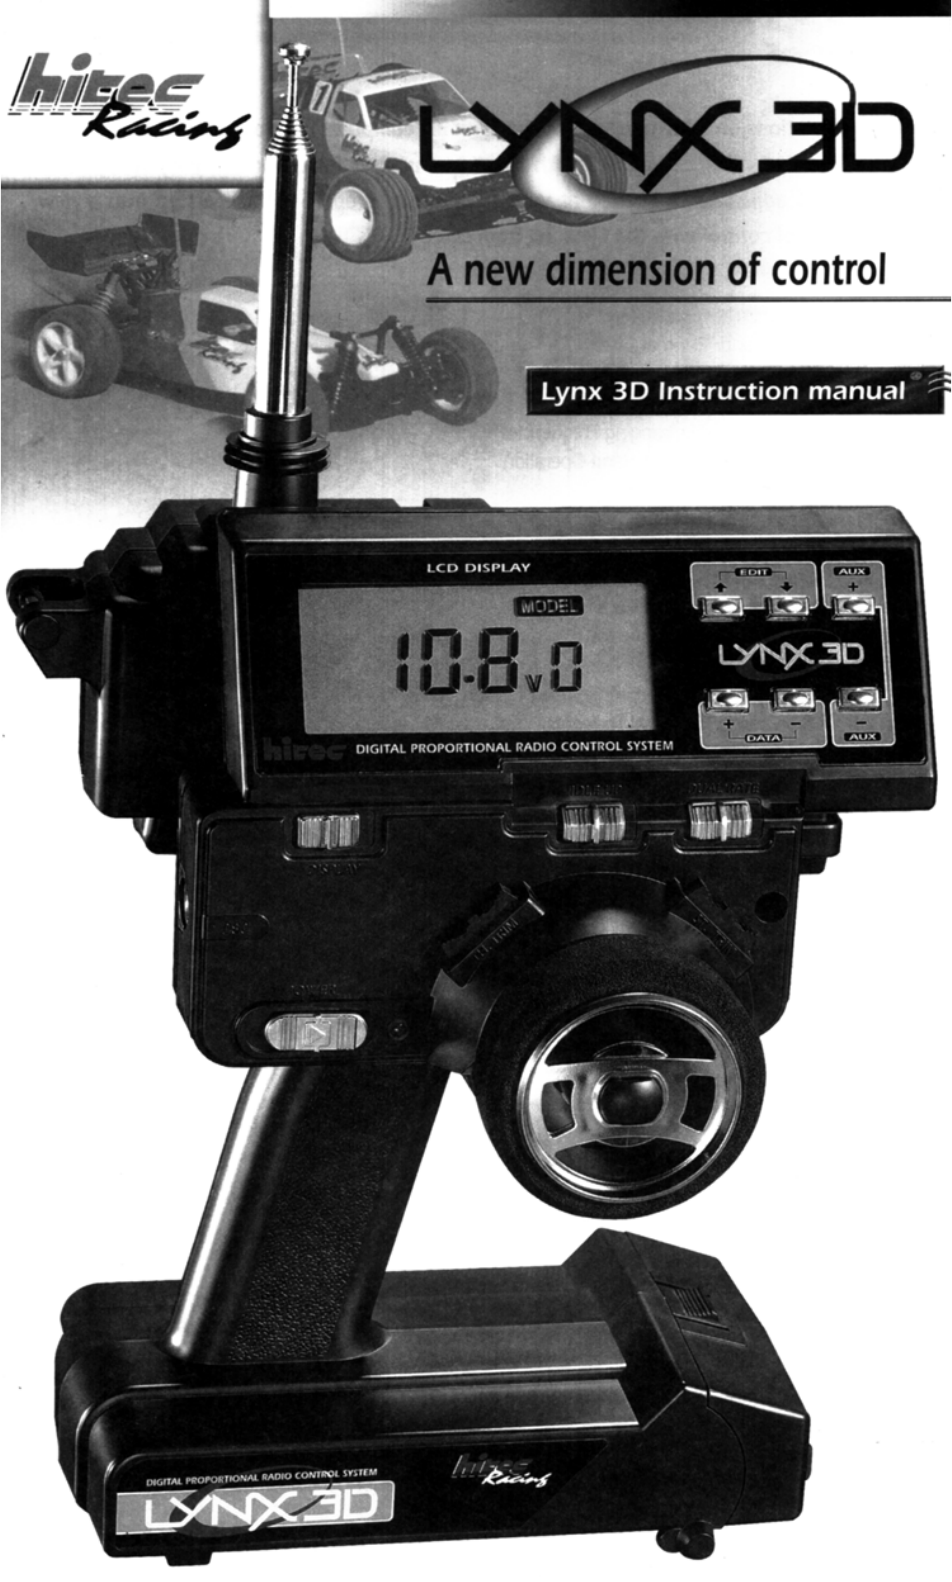
Congratulations on your purchase of the Lynx 3D computer controlled pistol grip system.Take time to familiarize yourself with these instructions for q
Electronic FeaturesThe following features are described in depth throughout this manual− 3 Channel FM digital proportional system− 10 model memory− Mo
DCX Receiver:Included in the Lynx 3D system is the most advanced surface use receiver on the market today. TheHitec DCX receiver features dual conver
Fast Charging TX Battery:Although Not recommend for normal charging, it may become necessary to fast charge the transmit-ter battery if it becomes dra
STEERING EPATHROTTLE EPAMODEL RESETMODEL COPYMODEL SELECTTIMERIDLE UPABSAUX CH3SERVO REVERSEEXPONENTIALAUTO D/RNow that you have familiarized yourself
EDITEDITAUX-+++--AUXAUXEdit Menu Access:To access the edit menu, turn the display or power switch on, while pushing the “Edit” up/down keyssimultaneou
EDITEDITEDITEDITEDITEDITModel Reset:This feature will allow you to reset any model back to the factory default setting. You must select themodel to b
EDITEDITEDITEDITTimer:The timer can be selected to count up or down. Leave the setting at zero if you wish to count up. Tocount down, select the amou
Related products and manuals for Toys Hitec Lynx 3D
 (6 pages)
(8 pages)
(30 pages)
(8 pages)
(4 pages)
(2 pages)
(2 pages)
(2 pages)
(1 pages)
(2 pages)
(2 pages)
(2 pages)
(13 pages)
(1 pages)
(4 pages)
(6 pages)
(8 pages)
(30 pages)
(8 pages)
(4 pages)
(2 pages)
(2 pages)
(2 pages)
(1 pages)
(2 pages)
(2 pages)
(2 pages)
(13 pages)
(1 pages)
(4 pages)
© 2020, manymanuals.com. All rights reserved. | 2.498 s |
 Manymanuals.com
 Manymanuals.de
 Manymanuals.fr
 Manymanuals.it
 Manymanuals.pl
 Manymanuals.cz
 Manymanuals.es
 Manymanuals-pt.com
Comments to this Manuals